
6 Newbie Rainbow Six Siege Tips for Getting Easy Kills and Helping Your Team

Having a bit of trouble with your kill count in Rainbow Six Siege? We've all been there. While those experienced in first-person-shooters might be able to jump right in and get a few kills each map, Rainbow Six Siege is a different animal, and just racking up a kill count doesn't always translate to wins. While Call of Duty and other shooters are often about going fast and locking onto your opponent immediately, Siege is about going slow and utilizing good tactics. If you are a newbie and want an easy way to get some cheap kills or make sure you are helping your team, the biggest tip is to pick the right operator.
Before we get into the operator tips, let's go over two basic suggestions that can bump your kill count:
Avoid suppressors. I love suppressors. I put them on almost every gun. But the downside is they can sometimes add a significant amount of time to kill an opponent. In general, a gun that does 38 damage without a suppressor and 32 damage with one will take one extra bullet to kill a full-health opponent. This can be the difference between killing and dying. As you get better, suppressors can become worth it because it won't give away your location as accurately, but until them, avoid them.
Turn off the music! I'm talking about both the music in the game and the music in your room. Rainbow Six Siege is about tactics, and a key tactic is using your ears to pinpoint enemies. Some great Siege players like Varsity Gaming are so good at this they can hear the pin coming out of a grenade. On the flip side, I can't count how many matches my team has lost because the last defender/attacker couldn't hear someone right around the corner from them because the music they were listening to was too loud.
How to Get Cheap Kills With Rainbow Six Siege Defenders
It's important to remember that the number one goal for defenders is to defend the objective. This might sound basic, but many a match was lost because the entire defense decided to go roaming and left the bombs or hostage completely unguarded. Defense is also great for newbies. There are a few great defenders that can give you easy kills even if your aim isn't perfect.
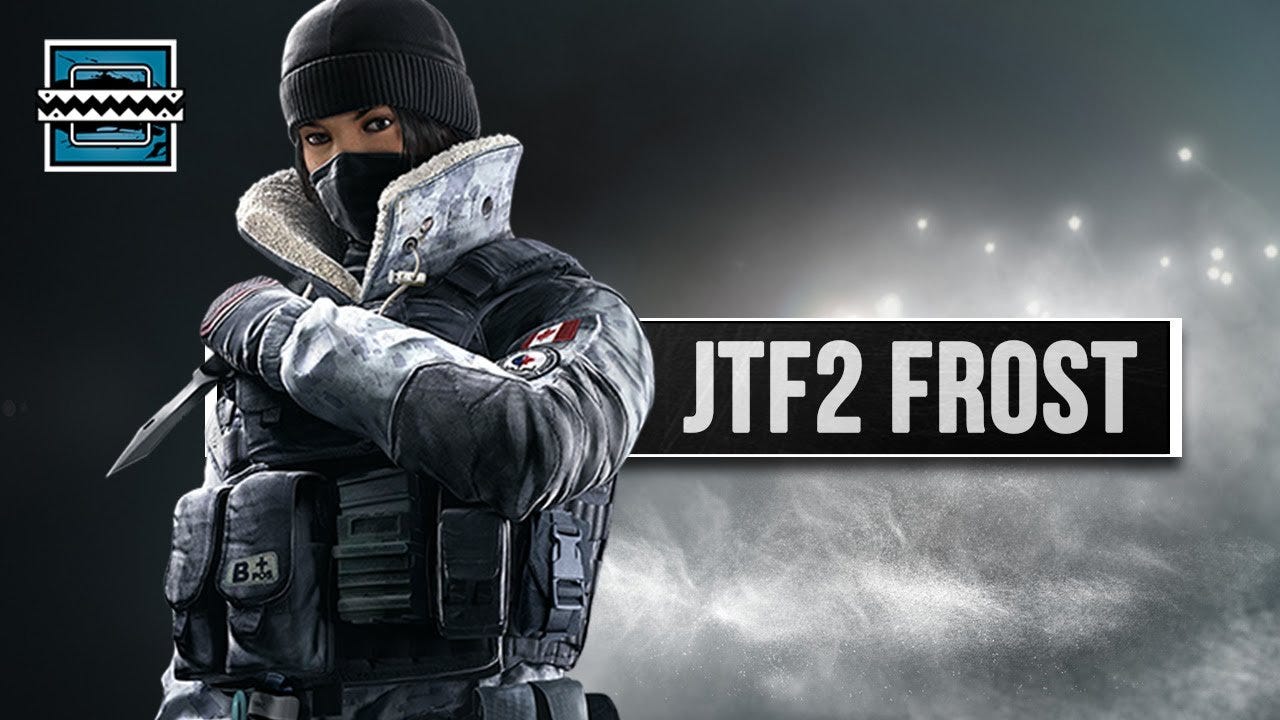
Frost
Easily one of the best defenders for casual matches and the copper / bronze / silver levels of ranked, Frost's traps can equate to a higher killcount. But you need to know where to place them.
I can't tell you how many times I've seen Frost used by people who seem to just randomly place the traps in the objective room. While this can occassionally work, most players can spot traps that are placed in the middle of a room. The trick is to place them where (1) players may not expect, or even better, (2) where they are hard to see.
The best place for Frost's traps are at the top of stairs where they are harder to spot, especially when the attacker is focused more on the hallway/room than the floor at that point. This won't trick the better players, but in casual or lower ranked matches, it works well.
Another great spot is just under windows that players can hop through from ground level or a balcony. This doesn't have to be windows in the objective. Pay attention to where attackers enter the building and place them under those windows. More experienced players combat this by firing at the ground as they enter, so if you are going up against better players, try placing the trap where only a third of it is actually under the window.
Behind a shield blocking a doorway into the objective. This is a bit more obvious, but when players get in a hurry, it can work very well. Even if it doesn't work, a defender in the objective may get an extra half-second while the attacker is firing at the floor to destroy the trap.
Another great trick is to keep a trap on you during the match and place it on an attacker's dead body. This is especially true if the attacker was holding the defuser. While you can't cover the defuser, if you can disguise it good enough, it can be a nice surprise for attackers trying to retrieve it.
There are a number of other great places, but they start becoming map specific. Try out these tips and start experimenting.
Kapkan
While I long for the day when Kapkan's traps could kill or down a full-health enemy, his lesser-damage traps can still provide some assists/kills and help defend the objective. While doorways into the objective are obvious choices for traps, an enemy team that wastes too much time pressing the bombs may become too impatient to check for them. Kapkan's traps work best when hidden behind a shield blocking the doorway.
While booby trapping the objective room is important, leave at least three traps for other doorways and avoid trapping windows/doors leading outside. These are the easiest to spot as enemies are generally hyperaware when entering the building.
Doorways right next to a wall are the best spots. Attackers will sometimes ignore the direction of the wall, so they may miss the trap. Also, traps placed off the beaten path can work very well. If you know the enemy may walk down a certain hallway, try trapping a doorway leading to a room adjacent to the hallway. This can catch enemies checking rooms as they progress down the hallway, or even better, enemies strafing into them while in a firefight with one of the defenders.
Kapkan's traps can also be used as an early warning system. If you have a room where you want to set up and wait for attackers, place traps on the doorwayss leading to that room.
Ela
While Frost and Kapkan provide some of the easiest kills, Ela can create her own little trap. The idea here is to put one of Ela's gizmot devices around a corner. You can then set up in the adjoining room/hallway, wait for the gizmot to fire off and then come around the corner blasting her shotgun for an somewhat easy kill. The key is to hide the gizmot well. If there's nothing that will obstruct it, put down some razor wire where the gizmot rests to make it harder to spot.
This same trick can be used in many other ways. A nice surprise for enemies is to put it on the other side of a destructable wall in a hallway or small room. When the gizmot goes off, fire through the wall to kill the enemy. You'll need to have a basic idea of which side of the gizmot the enemy was coming, but you can also strafe-fire a section of the wall to ensure the kill.
These tips with Ela are a little harder to pull off than using Kapkan or Frost's traps, but they can be very satisfying. You can also pull off a similar tactic with Lesion or any defender that equips proximity alarms.
How to Help Out Your Team With Your Attacker
A common theme for cheap kills with defenders is the use of traps, but the same cannot be said for attackers. In fact, the best kill-you-without-seeing-you attacker is Fuze, and Fuze should be avoided by newbies. He may sound perfect for that easy kill, but it is also easy to accidentally kill a teammate or even the hostage when not paying attention. Trust me, nobody wants a level 17 Fuze on their team!
Instead of going for cheap kills, we'll go for attackers that can easily help out their teammates and be the difference between a won match and a loss.
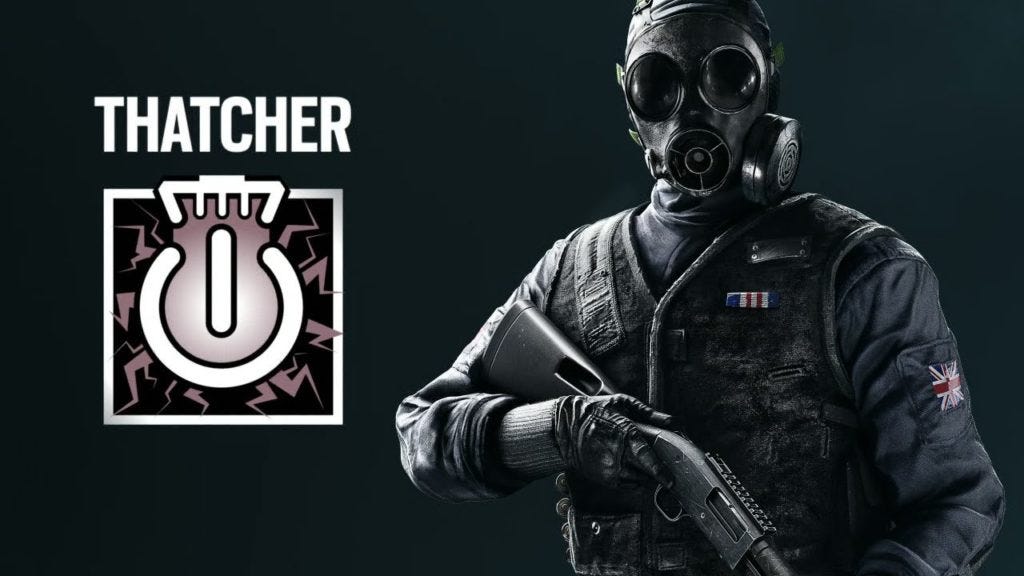
Thatcher
This one depends on the makeup of the team, but Thatcher can be by far the most helpful member of the right team and doesn't take a huge amount of knowledge or skill to use properly. The operators you want to look for on your team are: Thermite, Hibana or Ace. The strategy is simple. Follow these operators around the map and when they come to a reinforced wall, throw your EMP grenade.
It's a good idea to wait a few seconds to see if they are going to breach the wall before letting loose your grenade since you want to ensure any defender gadgets that may interfere are properly disabled during the breaching process. A good attacker will use the pinging system to let you know they want you to disable electronics, or at the very least, melee in your direction to get your attention.
Other than that, the strategy is to stay alive long enough to actually throw your EMP grenades.
Finka
By far one of my favorite attackers, Finka's special ability has one very, very, very cool benefit: she can revive downed teammates from anywhere on the map. She can't get a teammate out of a Frost trap, but any other downed-but-not-out comrade can be revived with a click of a button.
That alone makes Finka a great attacker, but the boost also provides extra hit points temporarily and less recoil during firefights. A good plan of action is to fire it off when the team is getting into gun battles, but save one for reviving a downed mate or the final push on the objective.
Finka also has grenades and a hard breach tool. Once you get used to cooking and throwing grenades, they can be very effective.
Jackel
There's a reason why Jackel is one of them most banned operators in Ranked/Unranked matches. He's quite annoying. And I don't just mean his personality. The ability to track an enemy can be extremely helpful for you and your teammates, and extremely annoying to the defender being tracked. The only real defense to being tracked is to move around, which can expose the defender.
He's also pretty simple to play. Just flip his heat-sensor on when looking through windows or hatches. If you find a near-enough footprint on the ground, track it. Remember: red footsteps mean they are very recent and the enemy is nearby, so remember not to expose yourself when tracking.
Jackel is one of those operators that grows with the player. In the right hands, Jackel can be used to track down enemies without ever kicking off the tracking system. The footsteps show both the length of time the person was last there and the direction they went.
Bonus Attacker: Ash
When all else fails, play Ash. I say this not because her special ability is great -- although it is a very strong ability -- but simply because her gun is awesome. The R4-C has a great speed-to-death ratio and has relatively small recoil. This makes it a great gun for those struggling to get kills.